Categories
Uncategorized

Using Wacom Intuos4 Wireless in unusual way

How to make clock out of your wacom tablet (with OLEDs obviously)?
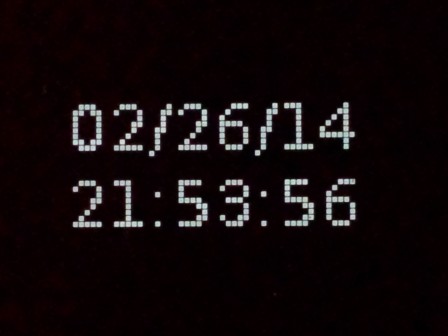
IMG_20140226_215357.jpg

There is one thing required – it’s i4oled

The “clock” can be set up over usb or bluetooth link. The example below uses bluetooth

1. Connect tablet. 2. Change permissions for OLEDs as we want to use i4oled without root access.

sudo chmod a+w /sys/bus/hid/drivers/wacom/0005\:056A\:00BD.0001/oled?_img

3. Change permissions for LED selector – it’s brightness is linked to OLEDs

sudo chmod a+w /sys/bus/hid/drivers/wacom/0005\:056A\:00BD.0001/leds/0005\:056A\:00BD.0001\:selector\:0/brightness

4. Change the brightness

echo 200 > /sys/bus/hid/drivers/wacom/0005\:056A\:00BD.0001/leds/0005\:056A\:00BD.0001\:selector\:0/brightness

Now we’re ready to test i4oled:

i4oled -b -t TEST -d /sys/bus/hid/drivers/wacom/0005\:056A\:00BD.0001/oled7_img

If text TEST shows up next to the bottom button it means that everything works fine and we can set up the clock:

while [ 1 ]; do i4oled -d /sys/bus/hid/drivers/wacom/0005\:056A\:00BD.0001/oled7_img -b -t $(date +%D+%T); sleep 1; done

The above command converts current date & time into image and sends it to the OLED screen:
Categories
Uncategorized

How to change OLED label on Intuos4 tablets on gnome

If you have that tablet you probably want to have full control of what is being displayed on those little OLED screens on the tablet. Currently gnome doesn’t give option to change it – you just have to accept whatever was generated for you. Or, do you?

This is a workaround and I hope in long run we wont need it.

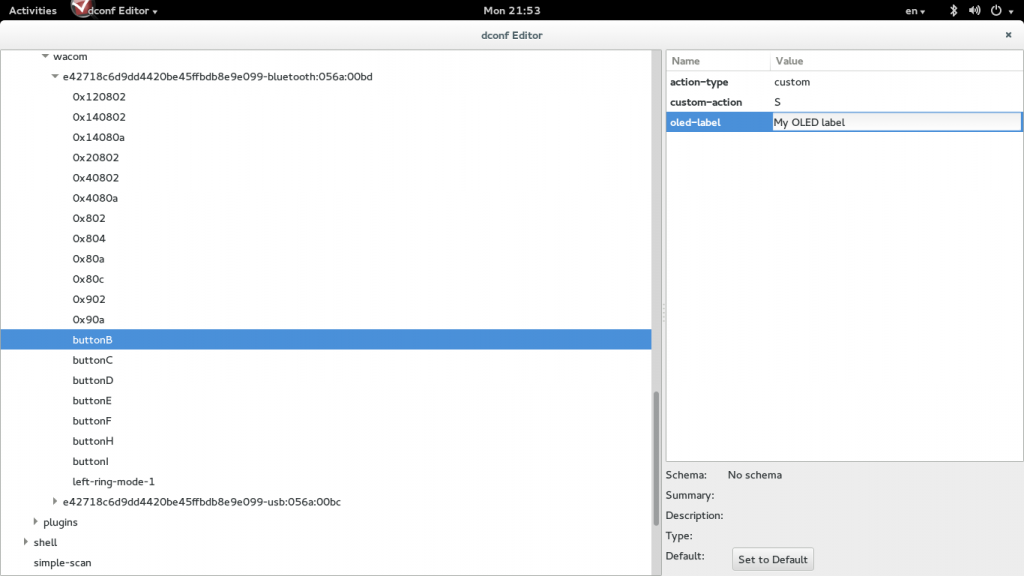
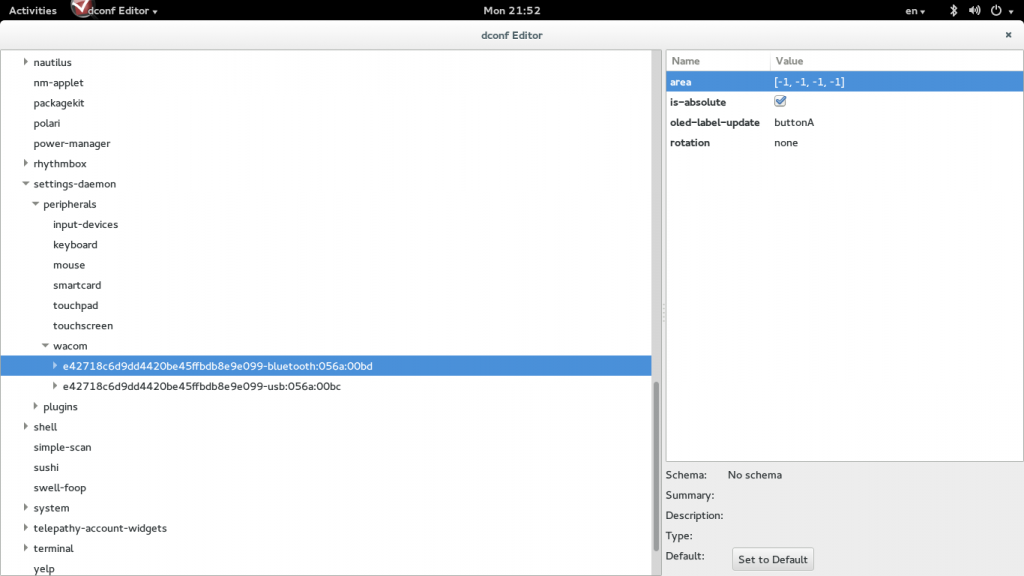
Hit Alt-F2 and type “dconf-editor” Go to org -> gnome -> settings-daemon -> peripherials -> wacom

You should see there a ID string that look very user unfriendly, like here:

Screenshot_from_2014-02-17_21_52_17.png

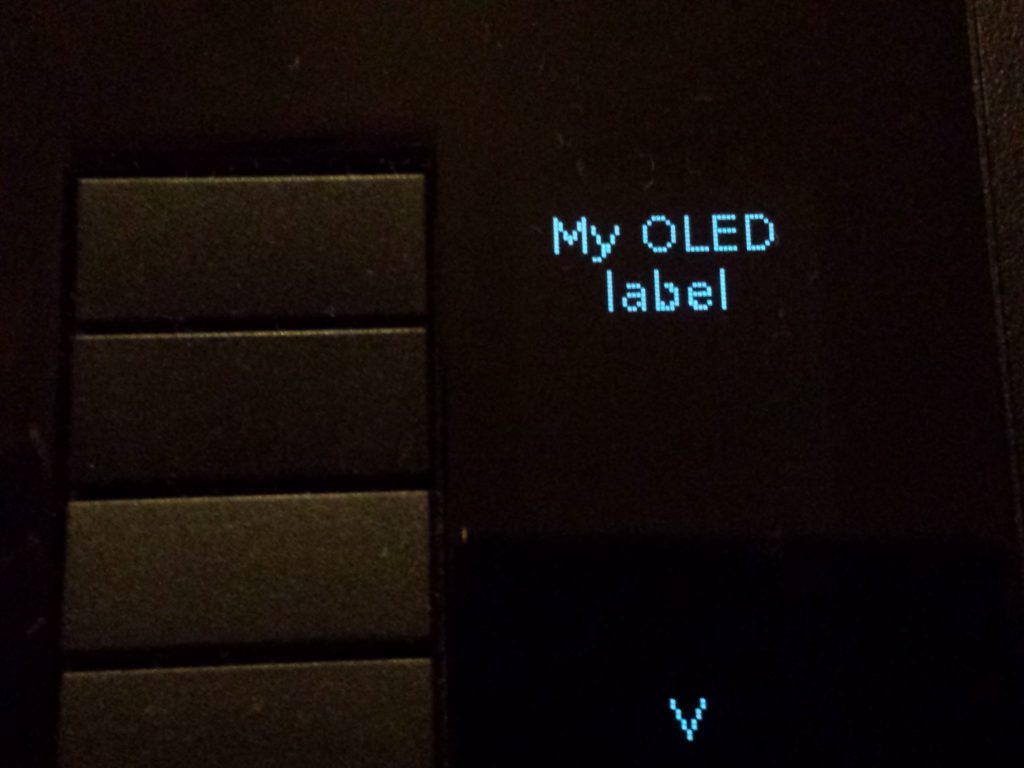
Open the item and find buttons section and edit OLED label:

Screenshot_from_2014-02-17_21_53_12.png

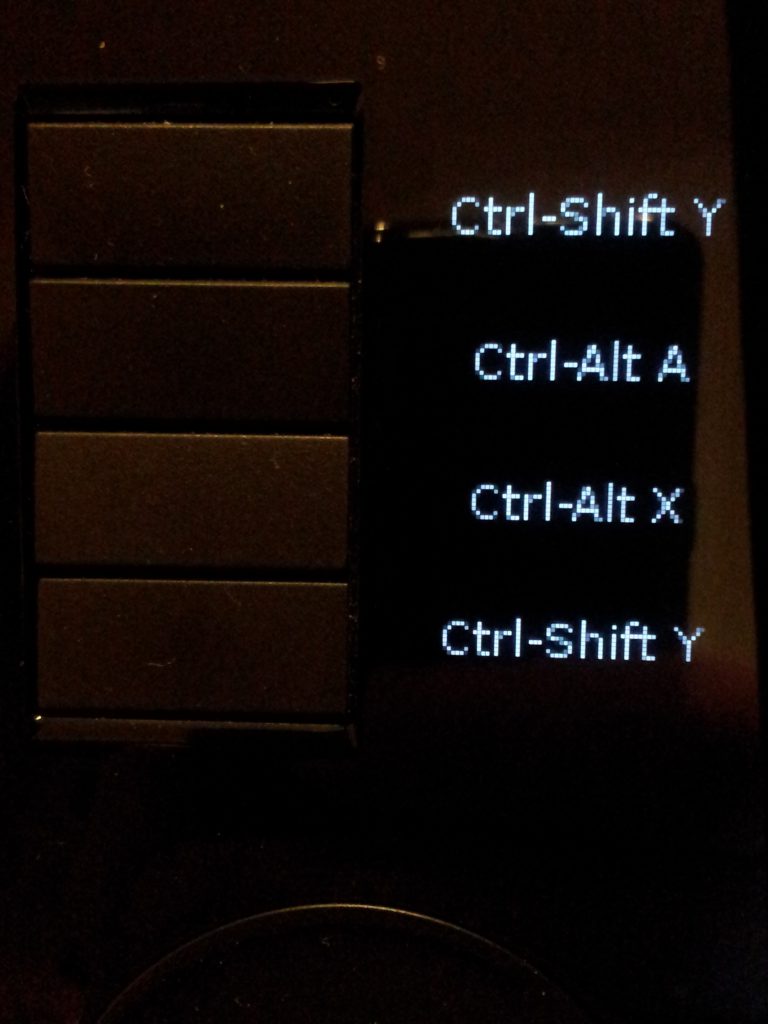
That’s it! You should see this on your tablet:

IMG_20140217_215355.jpg
Categories
Uncategorized

i4oled – bluetooth support

4oled just got bluetooth support. Wacom Intuos4 WL supports 4-bit images over USB connection, but only 1-bit when connected over bluetooth. i4oled now supports both with –bluetooth switch. Example usage:

i4oled -d /sys/class/hidraw/hidraw0/device/oled5_img -t "Alt+Ctrl" --bluetooth
   
i4oled -d /sys/class/hidraw/hidraw0/device/oled7_img -i help.png -b

And that’s how it looks on the device:

Wacom OLEDs ovet bluetooth
Categories
Uncategorized

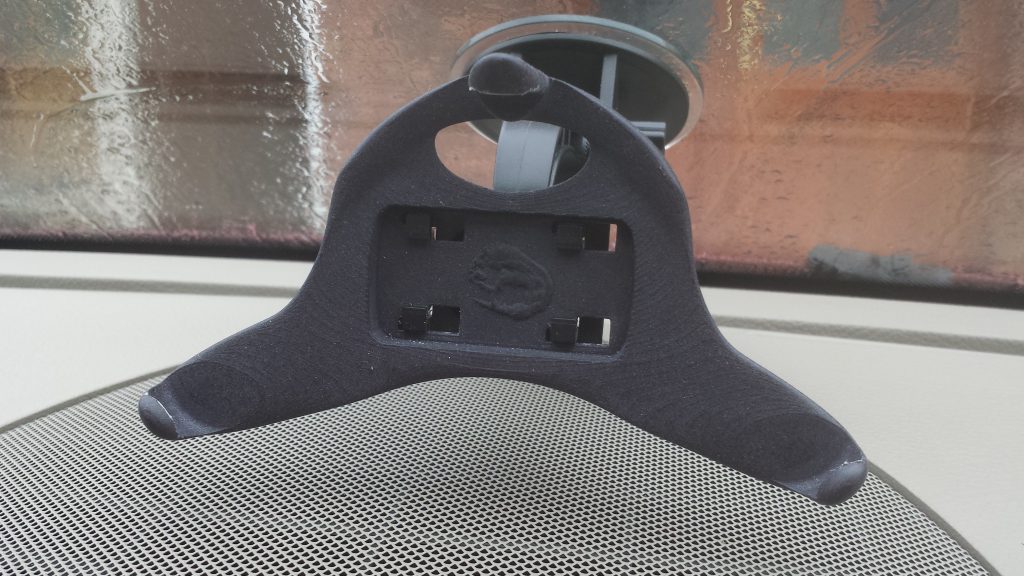
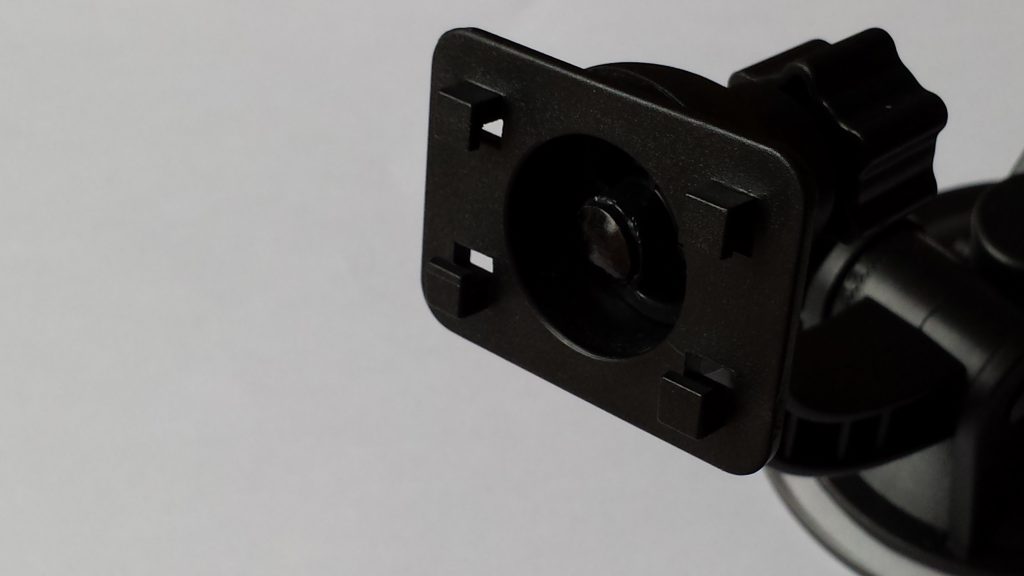
Galaxy S4 3D printed car holder

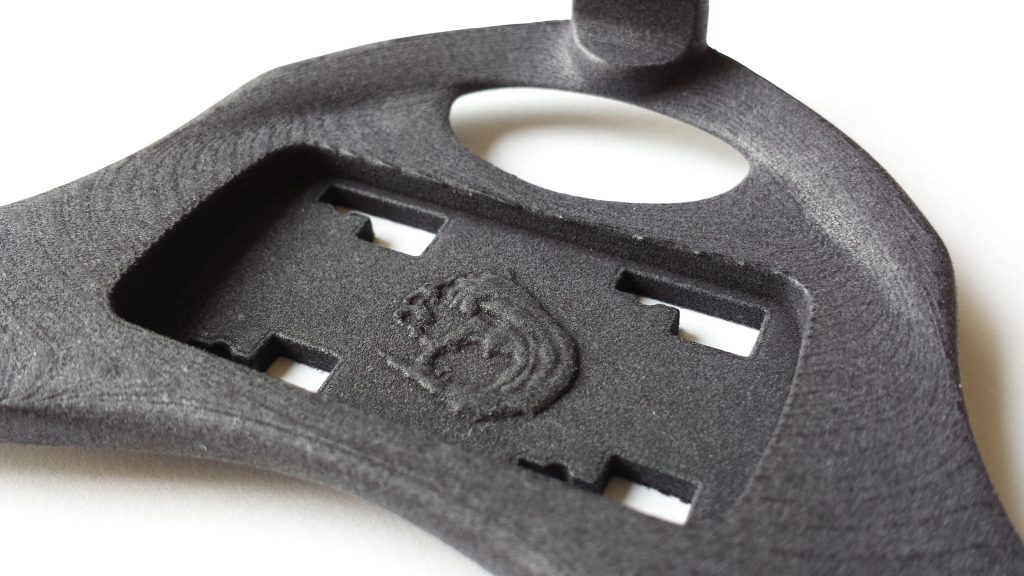
S4 holder closeup
S4 holder with phone
S4 holder in car

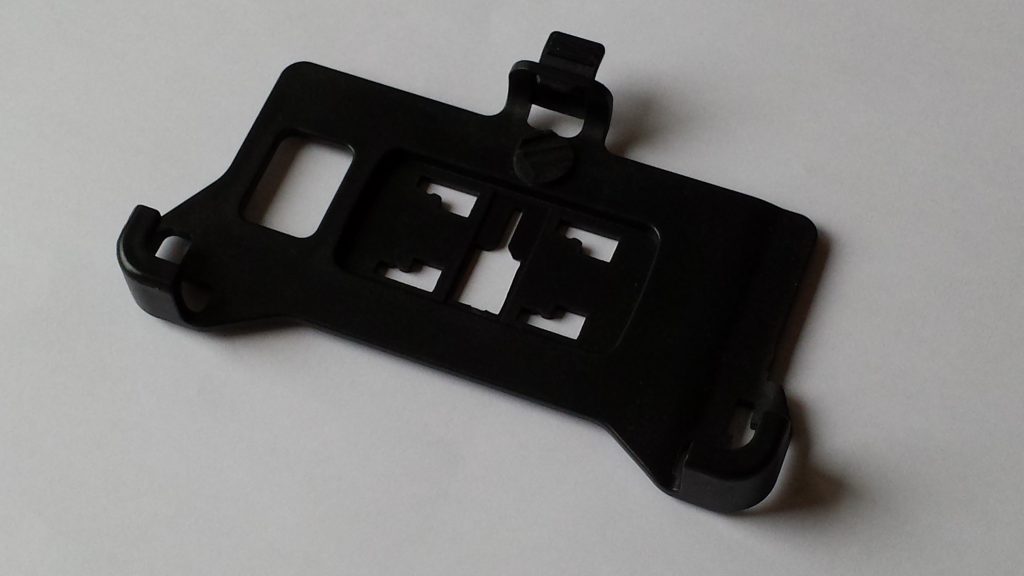
The cradle for S4 is based on an old S2 car holder:

S2 holder part 2

All designed using FreeCAD and Blender 3D.

S4 holder.blend

The model _will_ require some cutting after printing otherwise it won’t fit the phone. Additional cutting might be required if battery cover has been replaced.

Categories
Uncategorized

OpenSCAD – first battle

My first attempts to use OpenSCAD:

module hc_hexagon(size, height) {
box_width = size/1.75;
for (r = [-60, 0, 60]) rotate([0,0,r]) cube([box_width, size, height],
true);
}
module hc_column(length, height, cell_size, wall_thickness) {
no_of_cells = floor(1 + length / (cell_size + wall_thickness)) ;
for (i = [0 : no_of_cells]) {
translate([0,(i * (cell_size + wall_thickness)),0])
hc_hexagon(cell_size, height + 1);
}
}
module honeycomb (length, width, height, cell_size, wall_thickness) {
no_of_rows = floor(1.75 * length / (cell_size + wall_thickness)) ;
tr_mod = cell_size + wall_thickness;
tr_x = sqrt(3)/2 * tr_mod;
tr_y = tr_mod / 2;
off_x = -1 * wall_thickness / 2;
off_y = wall_thickness / 2;
difference(){
cube([length, width, height]);
for (i = [0 : no_of_rows]) {
translate([i * tr_x + off_x, (i % 2) * tr_y + off_y, (height) / 2])
hc_column(width, height, cell_size, wall_thickness);
}
}
}
//honeycomb(length, width, height, cell_size, wall_thickness);
honeycomb(140, 80, 20, 5, 1);

ormatting doesn’t look very good in narrow blog, it looks better here: honeycomb.scad

Honeycomb - blender render

P.S. Thanks to help from OpenSCAD forum I have a new, improved & much faster honeycomb script:

module hc_column(length, cell_size, wall_thickness) {
        no_of_cells = floor(length / (cell_size + wall_thickness)) ;

        for (i = [0 : no_of_cells]) {
                translate([0,(i * (cell_size + wall_thickness)),0])
                         circle($fn = 6, r = cell_size * (sqrt(3)/3));
        }
}

module honeycomb (length, width, height, cell_size, wall_thickness) {
        no_of_rows = floor(1.2 * length / (cell_size + wall_thickness)) ;

        tr_mod = cell_size + wall_thickness;
        tr_x = sqrt(3)/2 * tr_mod;
        tr_y = tr_mod / 2;
        off_x = -1 * wall_thickness / 2;
        off_y = wall_thickness / 2;
        linear_extrude(height = height, center = true, convexity = 10, twist = 0, slices = 1)
                difference(){
                        square([length, width]);
                        for (i = [0 : no_of_rows]) {
                                translate([i * tr_x + off_x, (i % 2) * tr_y + off_y,0])
                                        hc_column(width, cell_size, wall_thickness);
                        }
                }
}

//honeycomb(length, width, height, cell_size, wall_thickness);
honeycomb(140, 80, 20, 5, 1);

Categories
Uncategorized

Compiling FreeCAD on Fedora 18 – a guide to the bumpy road.

sudo yum install cmake doxygen swig gcc-gfortran gettext dos2unix desktop-file-utils libXmu-devel freeimage-devel mesa-libGLU-devel OCE-devel python python-devel boost-devel tbb-devel eigen3-devel qt-devel qt-webkit-devel ode-devel xerces-c xerces-c-devel opencv-devel smesh-devel Coin2-devel SoQt-devel freetype freetype-devel

./configure --with-qt4-lib=/usr/lib64/qt4 with-qt4-include=/usr/include/QtCore/ --with-qt4-bin=/usr/lib64/qt4/bin/make

Categories
Uncategorized

Gnome and Intuos4 OLEDs

Another day, another patch. Gnome will be getting wacom intuos4 OLEDs support. It’s going to look like this:

More details here: Light up the OLEDs

Hopefully those patches will land in gnome 3.10. Things that are waiting to be implemented:

  • bluetooth support for status led and OLEDs (kernel side ready, user side non existing)
  • multi keystroke sequences
  • editable labels i.e. mapping to Ctrl-S, but OLED label showing “Save”
  • icons instead of labels

Update: Basic handling of wacom OLEDs has been included in gnome-settings-daemon and gnome-control-center

Categories
Uncategorized

Rooting Sanei N10 Deluxe on linux command line

The Sanei N10 Deluxe tablet is _potentially_ a good tablet. Unfortunately the original firmware is absolutely useless. To get rid of it the device has to be rooted and re-flashed with something more SANE(I) 😉

Requirements:

1. the device itself – Sanei N10 Deluxe

2. usb cable

3. linux box with installed Android SDK

4. internet connection – for downloading AndroidRoot

The procedure below is based on bat file from AndroidRoot:

1. Download and unzip AndroidRoot

It contains some windows executables, a .bat file and 2 files that are important for linux users: “su” and “superuser.apk”

Copy those 2 files to your home directory (or any other, I assume they are in the home dir)

3. Switch on “USB Debugging” on the tablet. It’s in Settings -> Developer Options

4. Connect the device and make sure it’s detected by the system:

przemo@localhost:$lsusb
Bus 001 Device 002: ID 8087:0024 Intel Corp. Integrated Rate Matching Hub
Bus 002 Device 002: ID 8087:0024 Intel Corp. Integrated Rate Matching Hub
Bus 003 Device 002: ID 8087:07da Intel Corp.
Bus 001 Device 001: ID 1d6b:0002 Linux Foundation 2.0 root hub
Bus 002 Device 001: ID 1d6b:0002 Linux Foundation 2.0 root hub
Bus 003 Device 001: ID 1d6b:0002 Linux Foundation 2.0 root hub
Bus 004 Device 001: ID 1d6b:0003 Linux Foundation 3.0 root hub
Bus 001 Device 010: ID 18d1:0003 Google Inc.

The last line show that the tablet is connected.

5. Make sure you have rights to access the device (adb command is part of Android SDK):

przemo@localhost:$~/android-sdk-linux/platform-tools/adb devices
List of devices attached
20080411    device

If there is no device check here

6. Go to Android SDK directory -> platform-tools. On my linux box it’s:

cd ~/android-sdk-linux/platform-tools/

7. Now time to start rooting

./adb shell mv /data/local/tmp /data/local/tmp.bak
./adb shell ln -s /data /data/local/tmp
./adb reboot

8. Wait for the tablet to complete reboot and type:

./adb shell rm /data/local.prop > nul
./adb shell "echo \"ro.kernel.qemu=1\" > /data/local.prop"
./adb reboot

9. Again, wait for the tablet to complete reboot and confirm that we have root access:

./adb shell id

The result should be:

uid=0(root) gid=0(root)

10. Now we can install “su” (make sure correct location of “su” is used – that’s the file from AndroidRoot):

./adb remount
./adb push ~/su /system/xbin/su
./adb shell chown 0.0 /system/xbin/su
./adb shell chmod 06755 /system/xbin/su

11. Revert the changes that gave us root access:

./adb shell rm /data/local.prop
./adb shell rm /data/local/tmp
./adb shell mv /data/local/tmp.bak /data/local/tmp

12. Install superuser.apk (same comment about location of apk file as for point 10)

./adb push ~/superuser.apk /system/app/superuser.apk

13. Reboot and enjoy rooted tablet:

./adb reboot

That’s it – now the Sanei N10 Deluxe is ROOTED.

Categories
Uncategorized

3 steps to have live tracking in JOSM

What you have to have: – JOSM + LiveGPS pluginandroid SDKTetherGPS on you android phone.

1: Start TetherGPS and connect the phone using USB cable (turn on “Debugging” – it’s in settings) 2: Type: adb tcp:2947 tcp:2947 – this forwards port 2947 from your phone to your computer. “adb” is part of Android SDK 3: Open JOSM (with LiveGPS pugin) and Click in the main menu LiveGPS->Autocenter

That’s all. As soon as you mobile phone gets GPS fix JOSM will start updating your location on the map! You can save the track and help improving OpenStreetMap

That’s how it looks:

Categories
Uncategorized

OLED icons on Intuos4 tablets [v0.1]

I made a simple helper for setting OLED icons on Intuos4 tablets. It can be cloned from here:

git clone git://github.com/PrzemoF/i4oled.git

The helper accepts PNG images (64 x 32, 8-bit/color RGBA, non-interlaced) and it uses only red channel from the PNG file. There are some example icons in icons/ directory. The kernel patch mentioned in ‘usage’ option is not yet ready for release, but ‘-s’ (scramble) option should allow to use i4oled with any kernel with wacom OLED support.

Please test and report back – I have only Intuos4 Wireless tablet, so i4oled hasn’t been tested on any other model.

I’m waiting for reports if it works with the whole Intuos4 family – I’m going to implement an option for setting OLED icons as part of the button mapping in the wacom panel in gnome system settings.

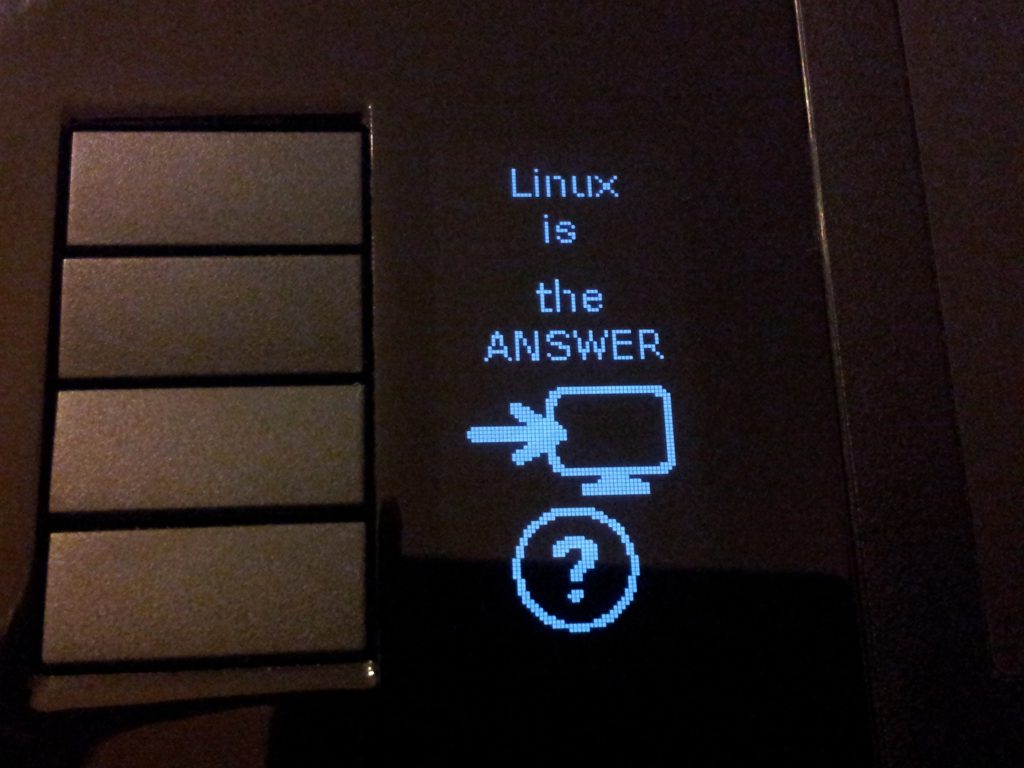
UPDATE [11 Sep 2012]: now the helper renders text using pango/cairo. It’s still rough on edges, so be careful! That’s how it looks on Intuos4 Wireless:

OLED text rendered by pango on Intuos4

UPDATE [4 Oct 2012] v1.0 is out, scrambling is now default